Engineer's Log:
Radiator Re-core:
I took the bus out for a short trip up to New Hampshire last
weekend, when I got back I noticed that the radiator was seeping a bit of fluid from near the
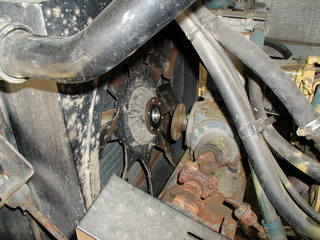
bottom of the left end tank. Closer inspection revealed that almost 60% of the copper
fins had rotted away and that the now un-supported tubes were vibrating up and down quite a
bit with the engine at idle, two of these tubes actually had broken off.It was pretty clear that I'd need a new or recored radiator. I probably could have nursed this one for a while but I would have been afraid to take the bus on any long trips. So I decided to replace it. I called the dealer and found that a new radiator would be big bucks. However, I did found a local shop that could re-core it for about 2/3 what a new one might cost.
| Step one was to drain the system. I took the hose clamps off the lower hose
and jammed a screw driver in, about 7 and a half gallons of anti-freeze flowed out. |
 |
The fluid was a loverly green color with a nice syrupy consistency so it will just go right back in when I'm done. |
| Step two remove the fan and the rest of the hoses. |
 |
I was thinking about an electric fan
from these guys , But at $800 I think I'll try some
experiments first. Maybe a pair of Ford Taurus fans and shrouds. The 3.8 L Taurus had a 450 watt motor, I think, and a pair should move a goodly amount of air. |
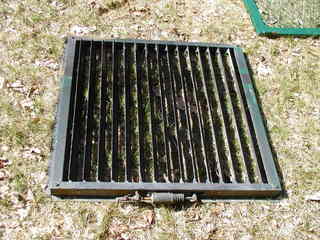
| Step 3, remove the reservoir and hang it from some bungees, remove the louvers and
the fan shroud. |
 |
|
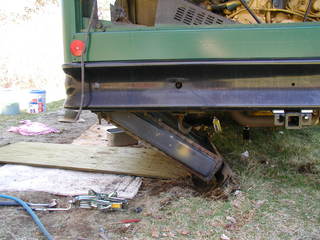
| Now support the radiator mount with a jack. |
 |
|
| and remove the bolt holding it in place. |
 |
|
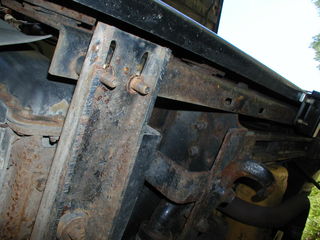
| These are the air operated louvers. There is a control valve screwed into the
water pump cover which sends air to close the louvers when the engine is cold. |
 |
|
| Here is the radiator coming out. If I ever have to do this again I'll do it
on pavement because it sure would have helped if I could have jacked the bus up just a
little bit. |
 |
|
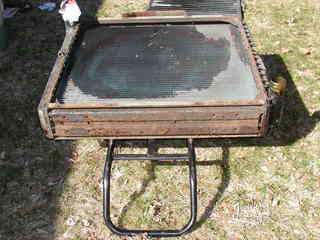
| Here's the radiator ready to go to the shop. That thing is 3 feet on a side
and weighs close to 300 lbs! The re-cored radiator should be done on in two days and I'll put it back in this weekend. |
 |
|
| And we're back from the radiator shop two days later looking all shiny black and spiffy! | 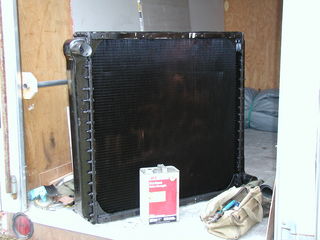 |
|
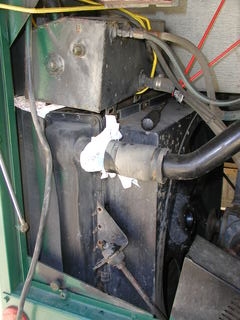
| This is the transmission cooler, it's brass and was sitting right on the steel frame caked with moisture retaining mud and dust. A perfect environment for galvanic corrosion. | 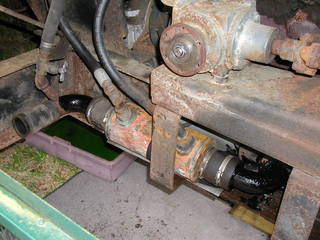 |
I placed a sheet
of tough vinyl under the cooler to protect it. I used exercise treadmill belt
material which is really tough and has a re-enforced backing. Treadmills are a source of lots of good stuff! The belts are tough sheet vinyl, the frames are usually nice square or rectangular sections of mild steel and the DC permanent magnet motors can be used to make windmill generators or small hydro-power stations. |
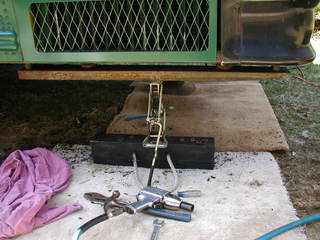
| Her is the radiator ready to jack back up into the bus with a floor jack. | 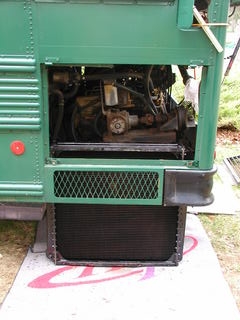 |
|
| All done, ready to pour the twelve gallons of anti-freeze back in. |  |
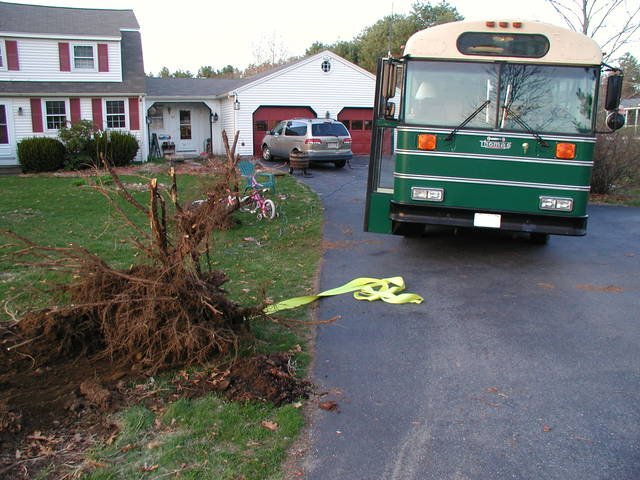
And just to warm her up we'll pull some stumps!