Bus Exterior, Seating, and Window Screens:
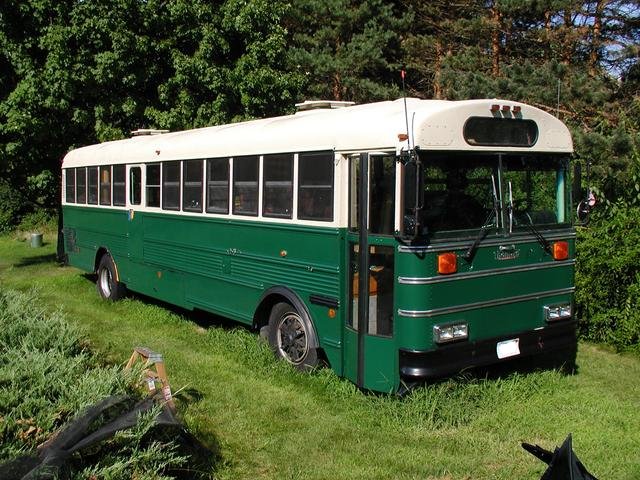
Exterior:
|
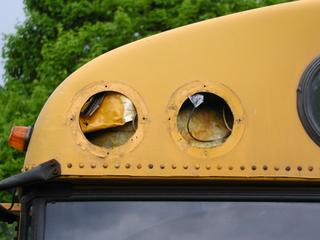
I decided to completely remove the flashing lights on the front of the bus.
Some people have suggested retaining them as white "off road" lights but in
Massachusetts I'd have to cover them with opaque covers on the highway and I didn't
want the bother. |
 |
|
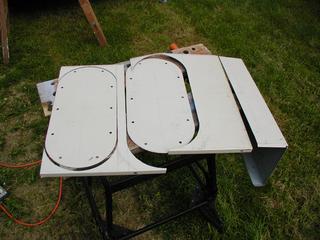
I cut some panels from the side of an old 486 PC tower case. This particular case used to be a Novell 2.2 file server. I remember marveling over the 64 meg DIMM memory that went into it when I built it. 32 Meg on each stick! Wow! It had two 2 Gig hard drives too! |
 |
Driver and Navigator Seating:
|
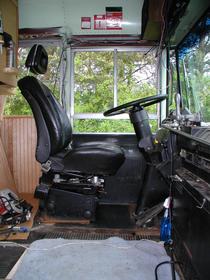
The stock bus seat was just not going to cut it. A couple of years ago a
buddy gave me the drivers seat from an Audi 5000 that he was junking. I put it
in my 1990 Olds minivan and since the minivan was donating the rest of its seats to
the camper project I decided to mount the leather 8-way power seat in the drivers
position. It's heated too, if I can figure out the wiring. |
 |
|
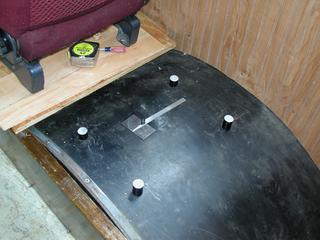
The navigator's seat will mount to the top of the wheel well on a 3/4" plywood
platform. To make the mounts as safe and solid as possible I machined these 1
1/4" aluminum spacers to mount the seat. They are drilled for 3/8" hardware and
one face is cut at the appropriate angle for the top surface of the wheel
well. |
 |
|
|
 |
|
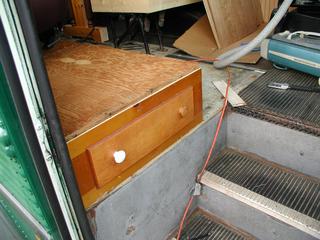
There was some space in front of the wheel well under the navigator's feet that I
couldn't allow to go to waste so I made a face frame and put in this drawer. |
 |
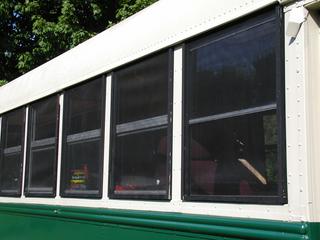
Windows:
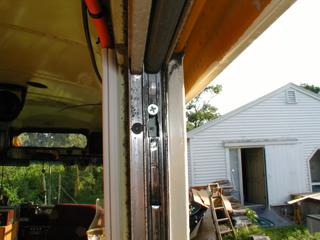
Four or five of my windows had the same problem, part of the aluminum track was broken out
such that the window would not latch in the fully closed position. A self-drilling
screw into the steel rib, just so, fixed this right up.
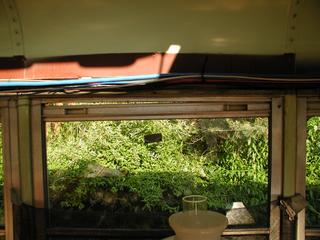
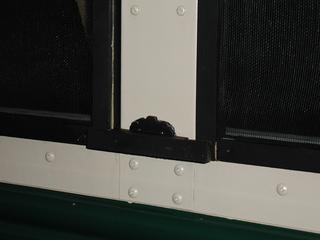
Screens:
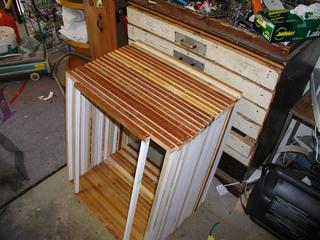
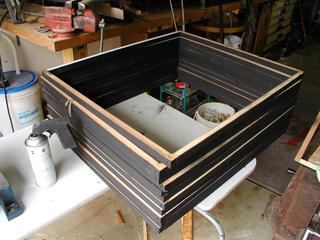
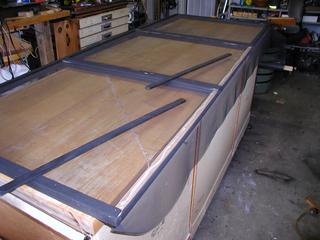
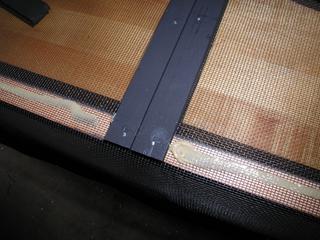
I came up with several different ideas for quick and easy screens but in the end I found that individual framed screens were going to be my best option. The construction of my bus is such that each windows is inset into the frame and has a lip at the top, take a look at the above right picture to see what I mean. A simple square frame slips into this gap and then rests nicely on the sill.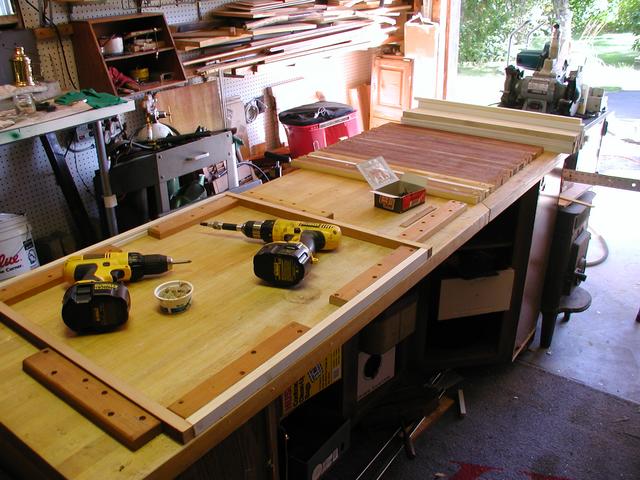 |
 |
 |
 |
 |
 |
 |
 |
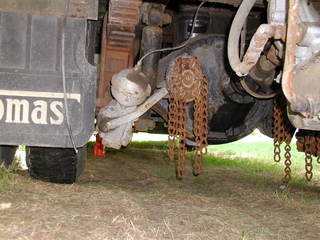
Here's a picture of the automatic tire chains - I can't wait to try these babies out this winter!
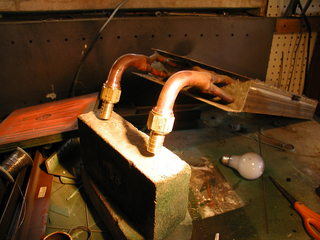
| I wanted to relocate the heater that was in the bathroom area from the floor to
the hallway wall. However, I could not find 1" heater hose anywhere. I
finally bought a couple of 3/4" hose barb to 3/4" NPT female fittings which I drilled
out with a 1" bit and soldered to the heater core. |
 |
|
| Here's the reassembled heater core. The fan motors were gummed up and needed some lubrication. Unfortunately the rear bearings were sealed so I had to drill a tiny hole in the motor end casing to pump some oil in. | 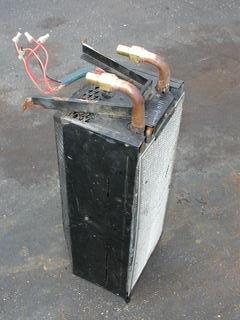 |
|
| Here's the heater installed under the bathroom sink. | 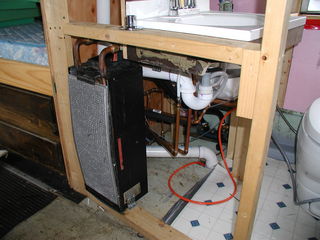 |
|
| There was a restrictor plug in one of the hoses to force more hot water up to the driver but I wanted to be able to adjust the distribution so I installed a gate valve instead. | 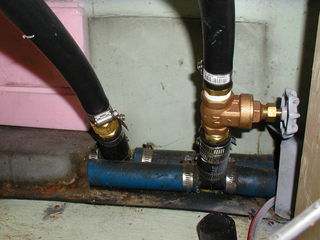 |
|
Towing: |
||
| I mounted a 2" receiver to the rear bumper and bumper carrier. I wanted a receiver so I could mount accessories like a rear porch or a bike rack as well as for towing a car. |
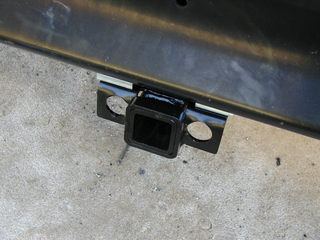 |
This is a "step bumper" receiver designed to be mounted under a step bumper on a pickup truck. I've seen these advertised for as little as $30-40. |
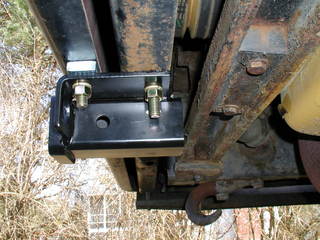
| The spacers include with the receiver turned out to be just the right height to
mount the receive on my rear bumper and bumper carrier. The bumper is 1/4" steel and the carrier is 5/16" and serves as the rear-most frame cross member. I think they are so overbuilt because the engine is so close to the back of the vehicle. That's the crank pulley you see above the back of the receiver. |
 |
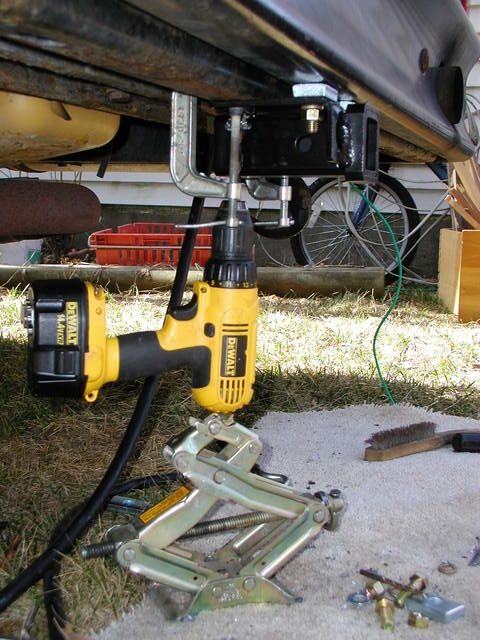
To mount the receiver I just clamped it in the correct place and used my "upside down drill press" method to drill the holes.
